Stop-motion Process (10/2)

For my animation, I wanted to experiment with claymation - a process I've never tried before. I got Sculpey to mold my main character, so making him was the first step.

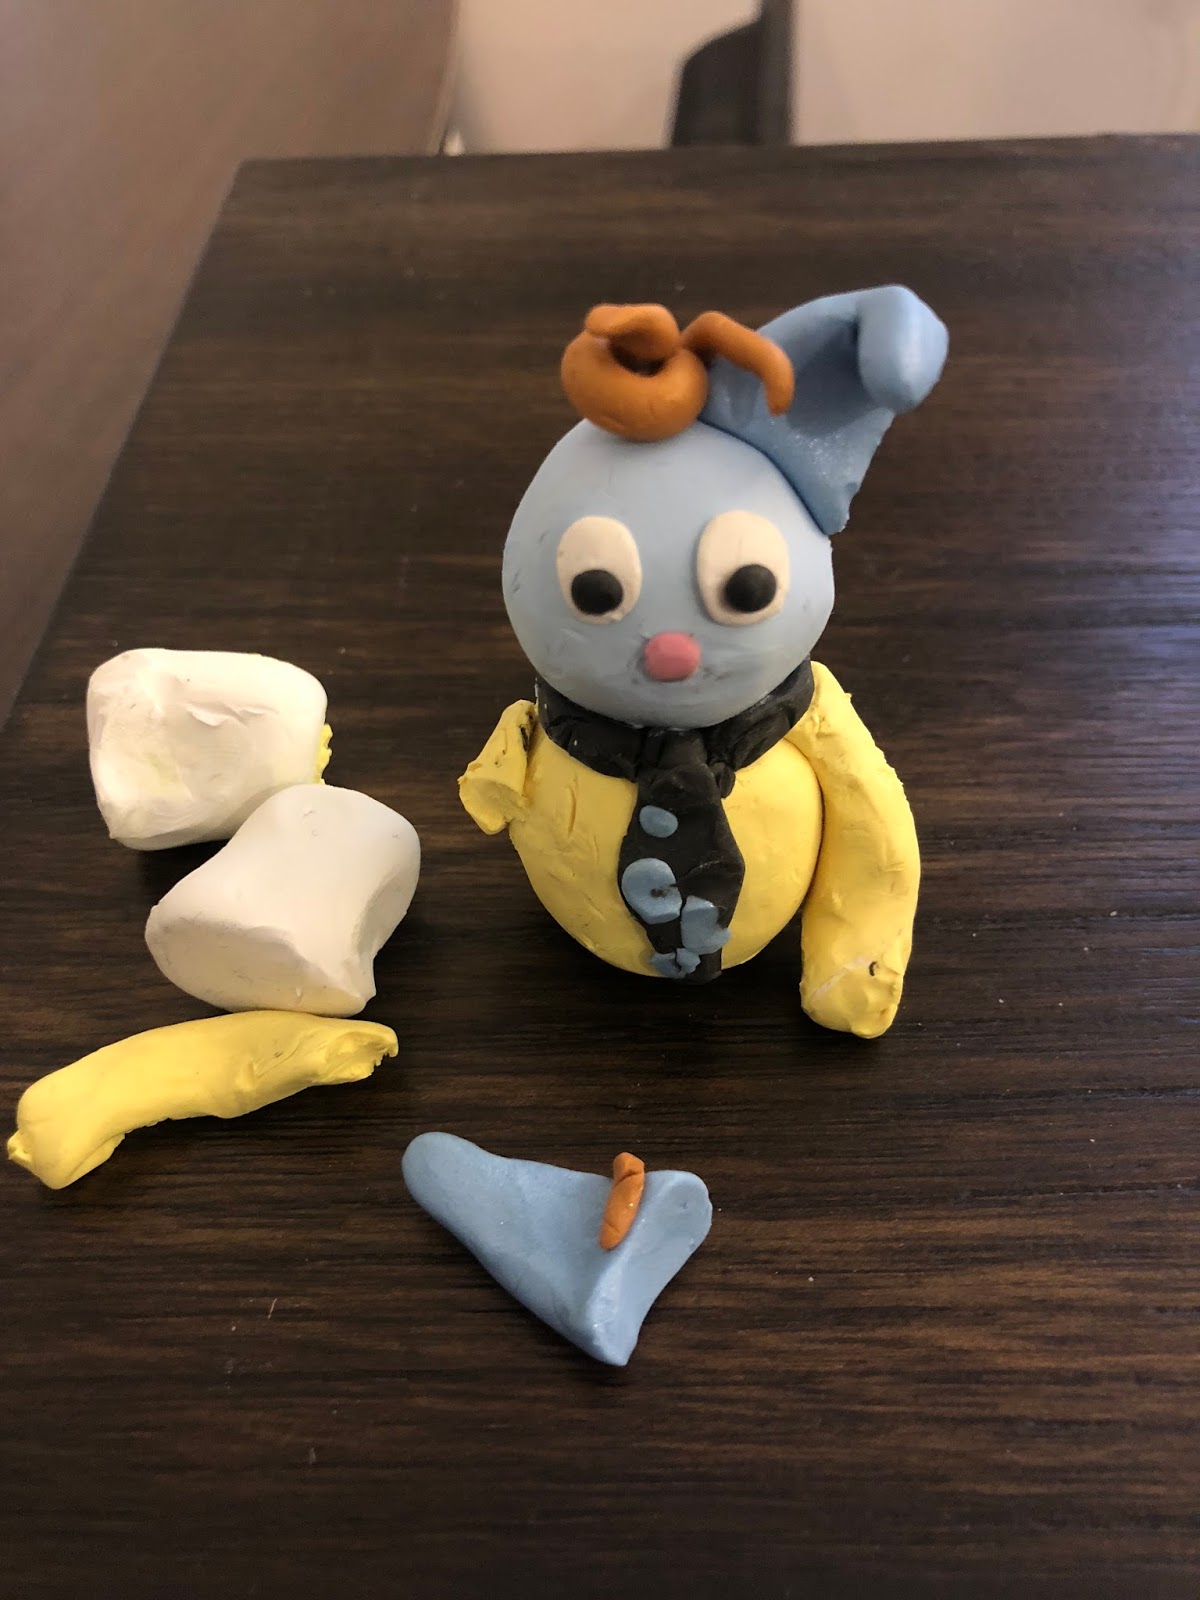
I think the best thing about using Sculpey is that you can make all parts of the character move - so I was able to make subtle changes such as the turning of the head or perking up of the ears. For the two other characters in the story, I used little figurines I already had. I had also recently bought the NYC fire escape shelf that I haven't put together yet that I used as the structure and setting for my little characters to move around in. Before starting to create the animation, I planned out the story and the action that would be taking place.

I used my iPad and the app "I Can Animate" to make my animation. I put my iPad on the keyboard to prop it up and then had to pile up a lot of books to get it to the right height. Having a phone or iPad tripod or a regular tripod if you're using a camera would be much easier.


After everything was set up, I started using the app to take the photos. I like this app because the onion skinning is very easy to see, and I can make sure my movements are small enough to flow nicely together. When I move the characters, I moved them a little bit at a time and took 3 or 4 photos with the character in that positioning so that the animation wouldn't move too fast.


When I finished taking the photos, I exported the animation and emailed it to myself. I then imported it into Final Cut Pro to make some edits. I added a few short freeze frames when I wanted to pause on an image longer, and I added sound effects. That's it!

Comments
Post a Comment